Spider Stitch
It has been so long since I’ve done my stitch-of-the-week. I’ve been keeping up with it as far as trying a new stitch, taking pics, etc., but haven’t had time to post them. I’ll try to be better about it now that the baby is getting a little bit older. Here’s the newest one. I won’t say what I’m making, but I’m creating a little something for my girls. They all want to match for my mothers wedding in 5 weeks……No pressure!
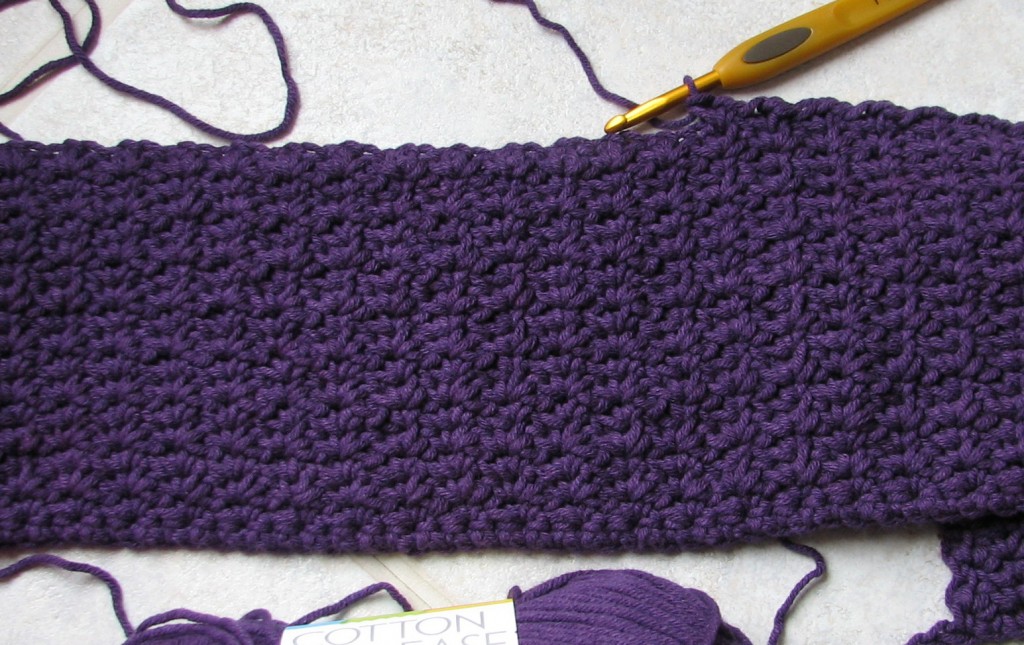
Spider Stitch
The spider stitch is made with an odd number of stitches. After deciding how many stitches you will need for your project you need to add 2 extra for your foundation chain.
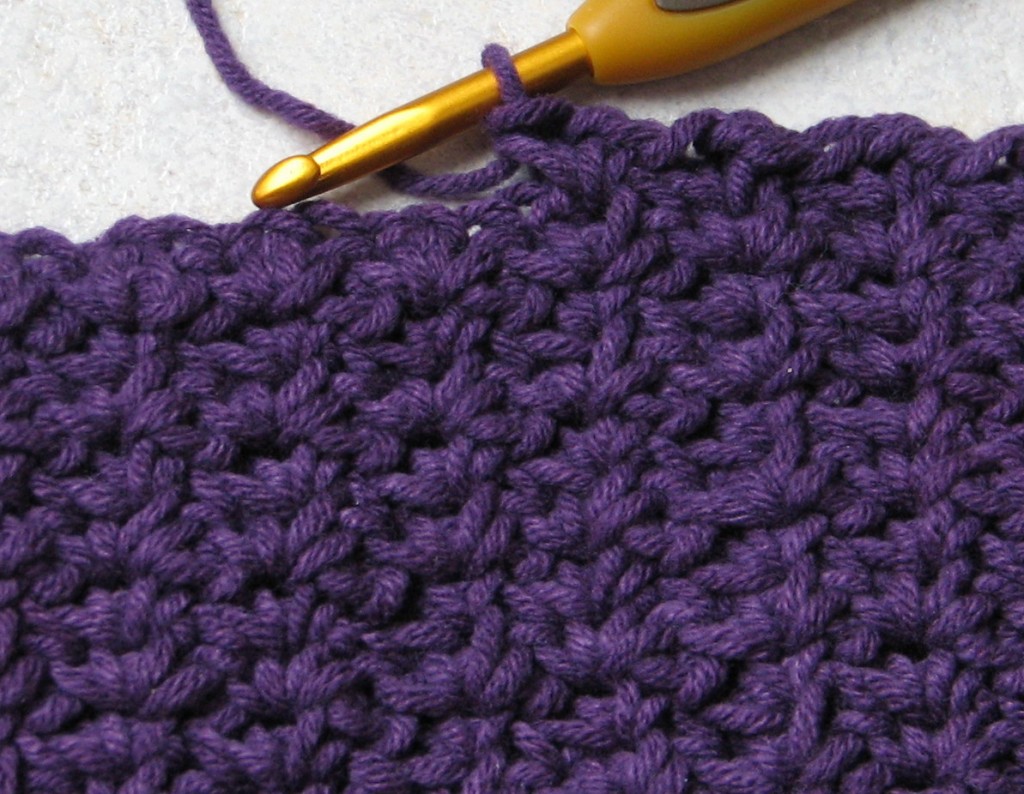
Row 1: (sc, ch1, sc) in 3rd ch from hook, *skip next chain, (sc, ch1, sc) in next ch, repeat from * to last 2 ch, skip next ch, sc in last ch, turn.
Row 2: ch2, skip first 2 sc, (sc, ch1, sc) in each ch1 space, sc in top of beginning ch2, turn.
Repeat Row 2.
I wanted a finished edge for my project so I made a variation of this. If you don’t want to do a border, try my version.
Instead of an odd number of stitches you will need an even number.
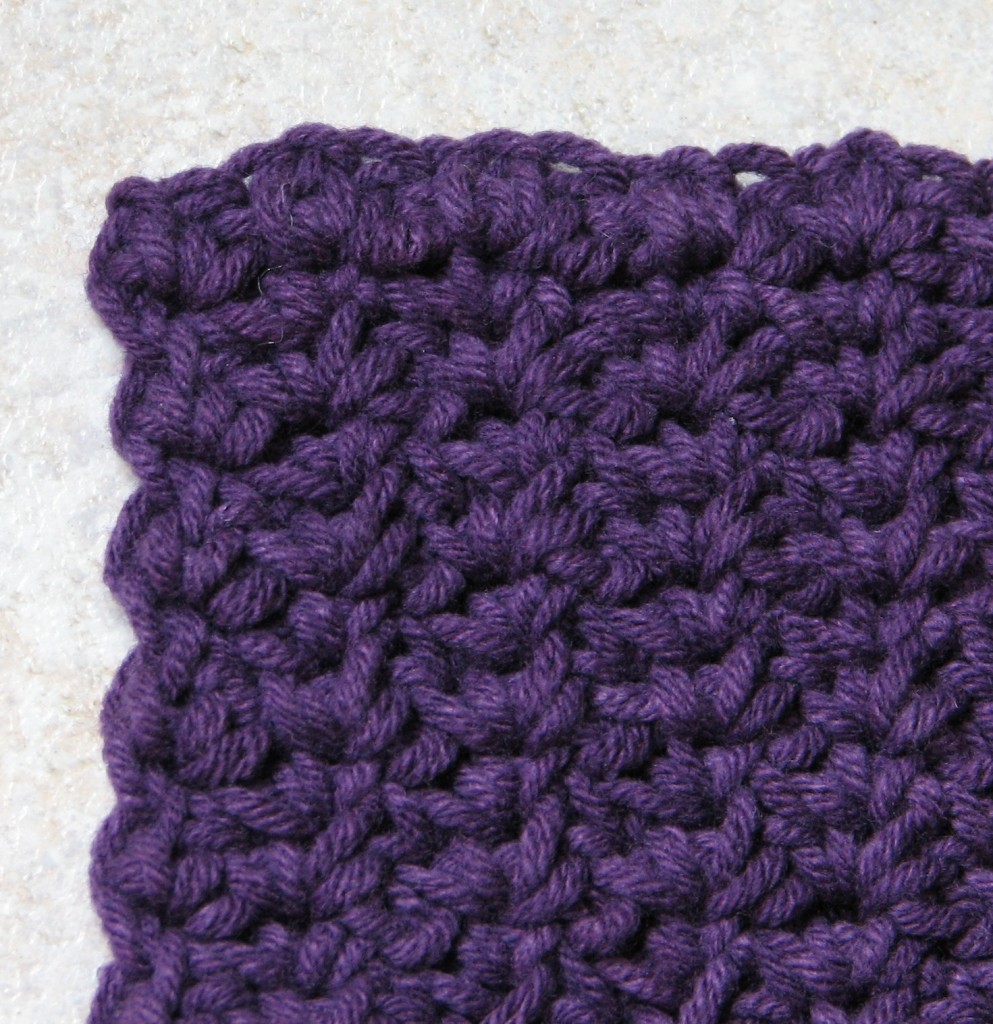
Row 1: sc in 2nd ch from hook, sc in each ch across.
Row 2: ch1, sc in first sc, skip next sc, *(sc, ch1, sc) in next sc, skip next sc, repeat from * across, sc in last sc, turn.
Row 3: ch1, sc in first sc, *(sc, ch1, sc) in next ch1 sp, repeat from * across, sc in last sc, turn.
Repeat Row 3 until you have reached the desired number of rows.
Finishing Row: sc in first sc, *sc in next sc, sc in next ch1 sp, skip next sc, repeat from * across, sc in last sc. Finish off. (your ending row should have the same number of sc as your beginning row.
Happy Crocheting!
>Hello I only just now found your blog, I really like your crochetwork so I´m staying :-)Also it´s always nice to se someone talk about their faith openly.Hugs and lots of blessings to you.Susanne
I love this stitch!!! I have a couple of questions, if I do not want a finished edge I should follow the first set of instructions right? My confusion is you have Row 1 and Row 2 then have repeat Row 2, do I repeat Row 2 until complete or do I repeat Row 2 and then jump over to Row 3 and complete the blanket with Row 3? Thanks so much.
I’m so sorry I didn’t see this question earlier. Hope I can still help. If you do not want a border, just repeat row 2. Row 3 only applies if you’re adding the border. Hope that helps.
good luck on the weding thing
Hello. I found this post through Pinterest. Its possible I am reading the pattern wrong, but I wanted to notify you of a potential typo mistake in the pattern. In Row 1, the repeat should skip 2 chains, not one (since the pattern increases 2 in each stitch).
Thanks for sharing your lovely ideas on this blog.
Ok, I’ll check it out. Thank you!
Do you have video of this stitch pattern?
Right now I have 5 young children at home and never have a quiet minute, so I can’t do video tutorials. Sorry.
Muy bonita la puntada, sólo que preferiría ver un video, pués no entiendo las instrucciones.
Gracias.
Yolanda,
Unfortunately I don’t do videos right now. I have 6 children, and it’s never quiet enough around here. :)
Was Christine right about skipping 2 stitches? Did you check it out. Is the pattern correct now?
Leware, you shouldn’t need to skip 2 sts because there is no increases. After the first row you are going to do your sts in the ch-1 sps so how many you sk in the first row should’t matter.