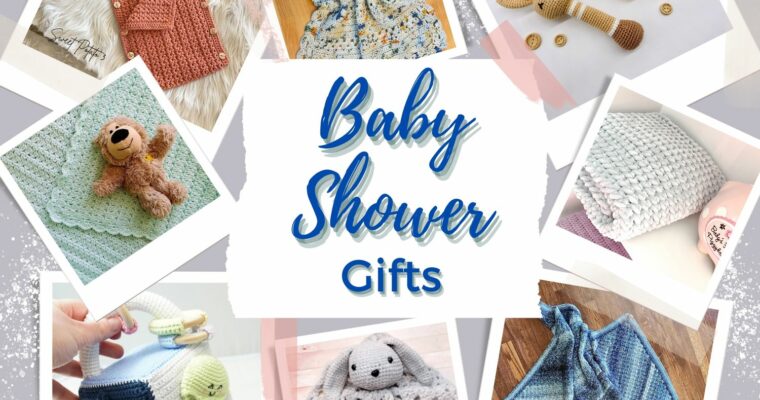
Cheap Yarn Tote Solution
I’ve been planning this fairly big project, that will by my best guess, have at least 4 colors going at any given time. I have project bags coming out the wazoo (Is that even a word? lol) but not one of them is made for a project with color changes. I’m sure you’ve seen the ones I’m referring to. They have holes for the strand to come through. They are great for projects that use multiple colors because they keep your yarn from getting tangled around the other colors. But I already have tons of project bags and actually dreaded spending money on another one.
I came up with this very easy solution, and was asked how I did it, so I thought I would share for anyone else interested. (I also have the supplies to make 3 more if anyone is interested in having me make them one.)
Supplies:
- 2 X 4 – will prevent any dents in your floor.
- Large Eyelet Kit (grommets)
- Scissors
- Hammer
- Chisel
- Plastic Yarn Bag – any thicker plastic bag will work.
I used a clear plastic yarn bag I already had, but you could probably even use those ‘green’ totes you buy in the store. I started out using the chisel to put a hole in the bag. By the time I was done I was actually just using the chisel to ‘mark’ where I wanted the hole, then I took the scissors and actually cut the hole out. Try not to make your hole any bigger than the grommet post. The directions on how to install the grommet are right on the package. Super easy. I was done the entire bag (8 yarn holes; 4 on each side) in less than 20 min.
I already had the bag, so all I had to do was purchase the grommets. They were $7.99 before I used a 40% off coupon. So the total cost of the project was less than $5. Not bad! Now I’m ready to begin my project!
Happy Crocheting!

Read More


