How to Crochet the Alpine Stitch as a Border on a Blanket
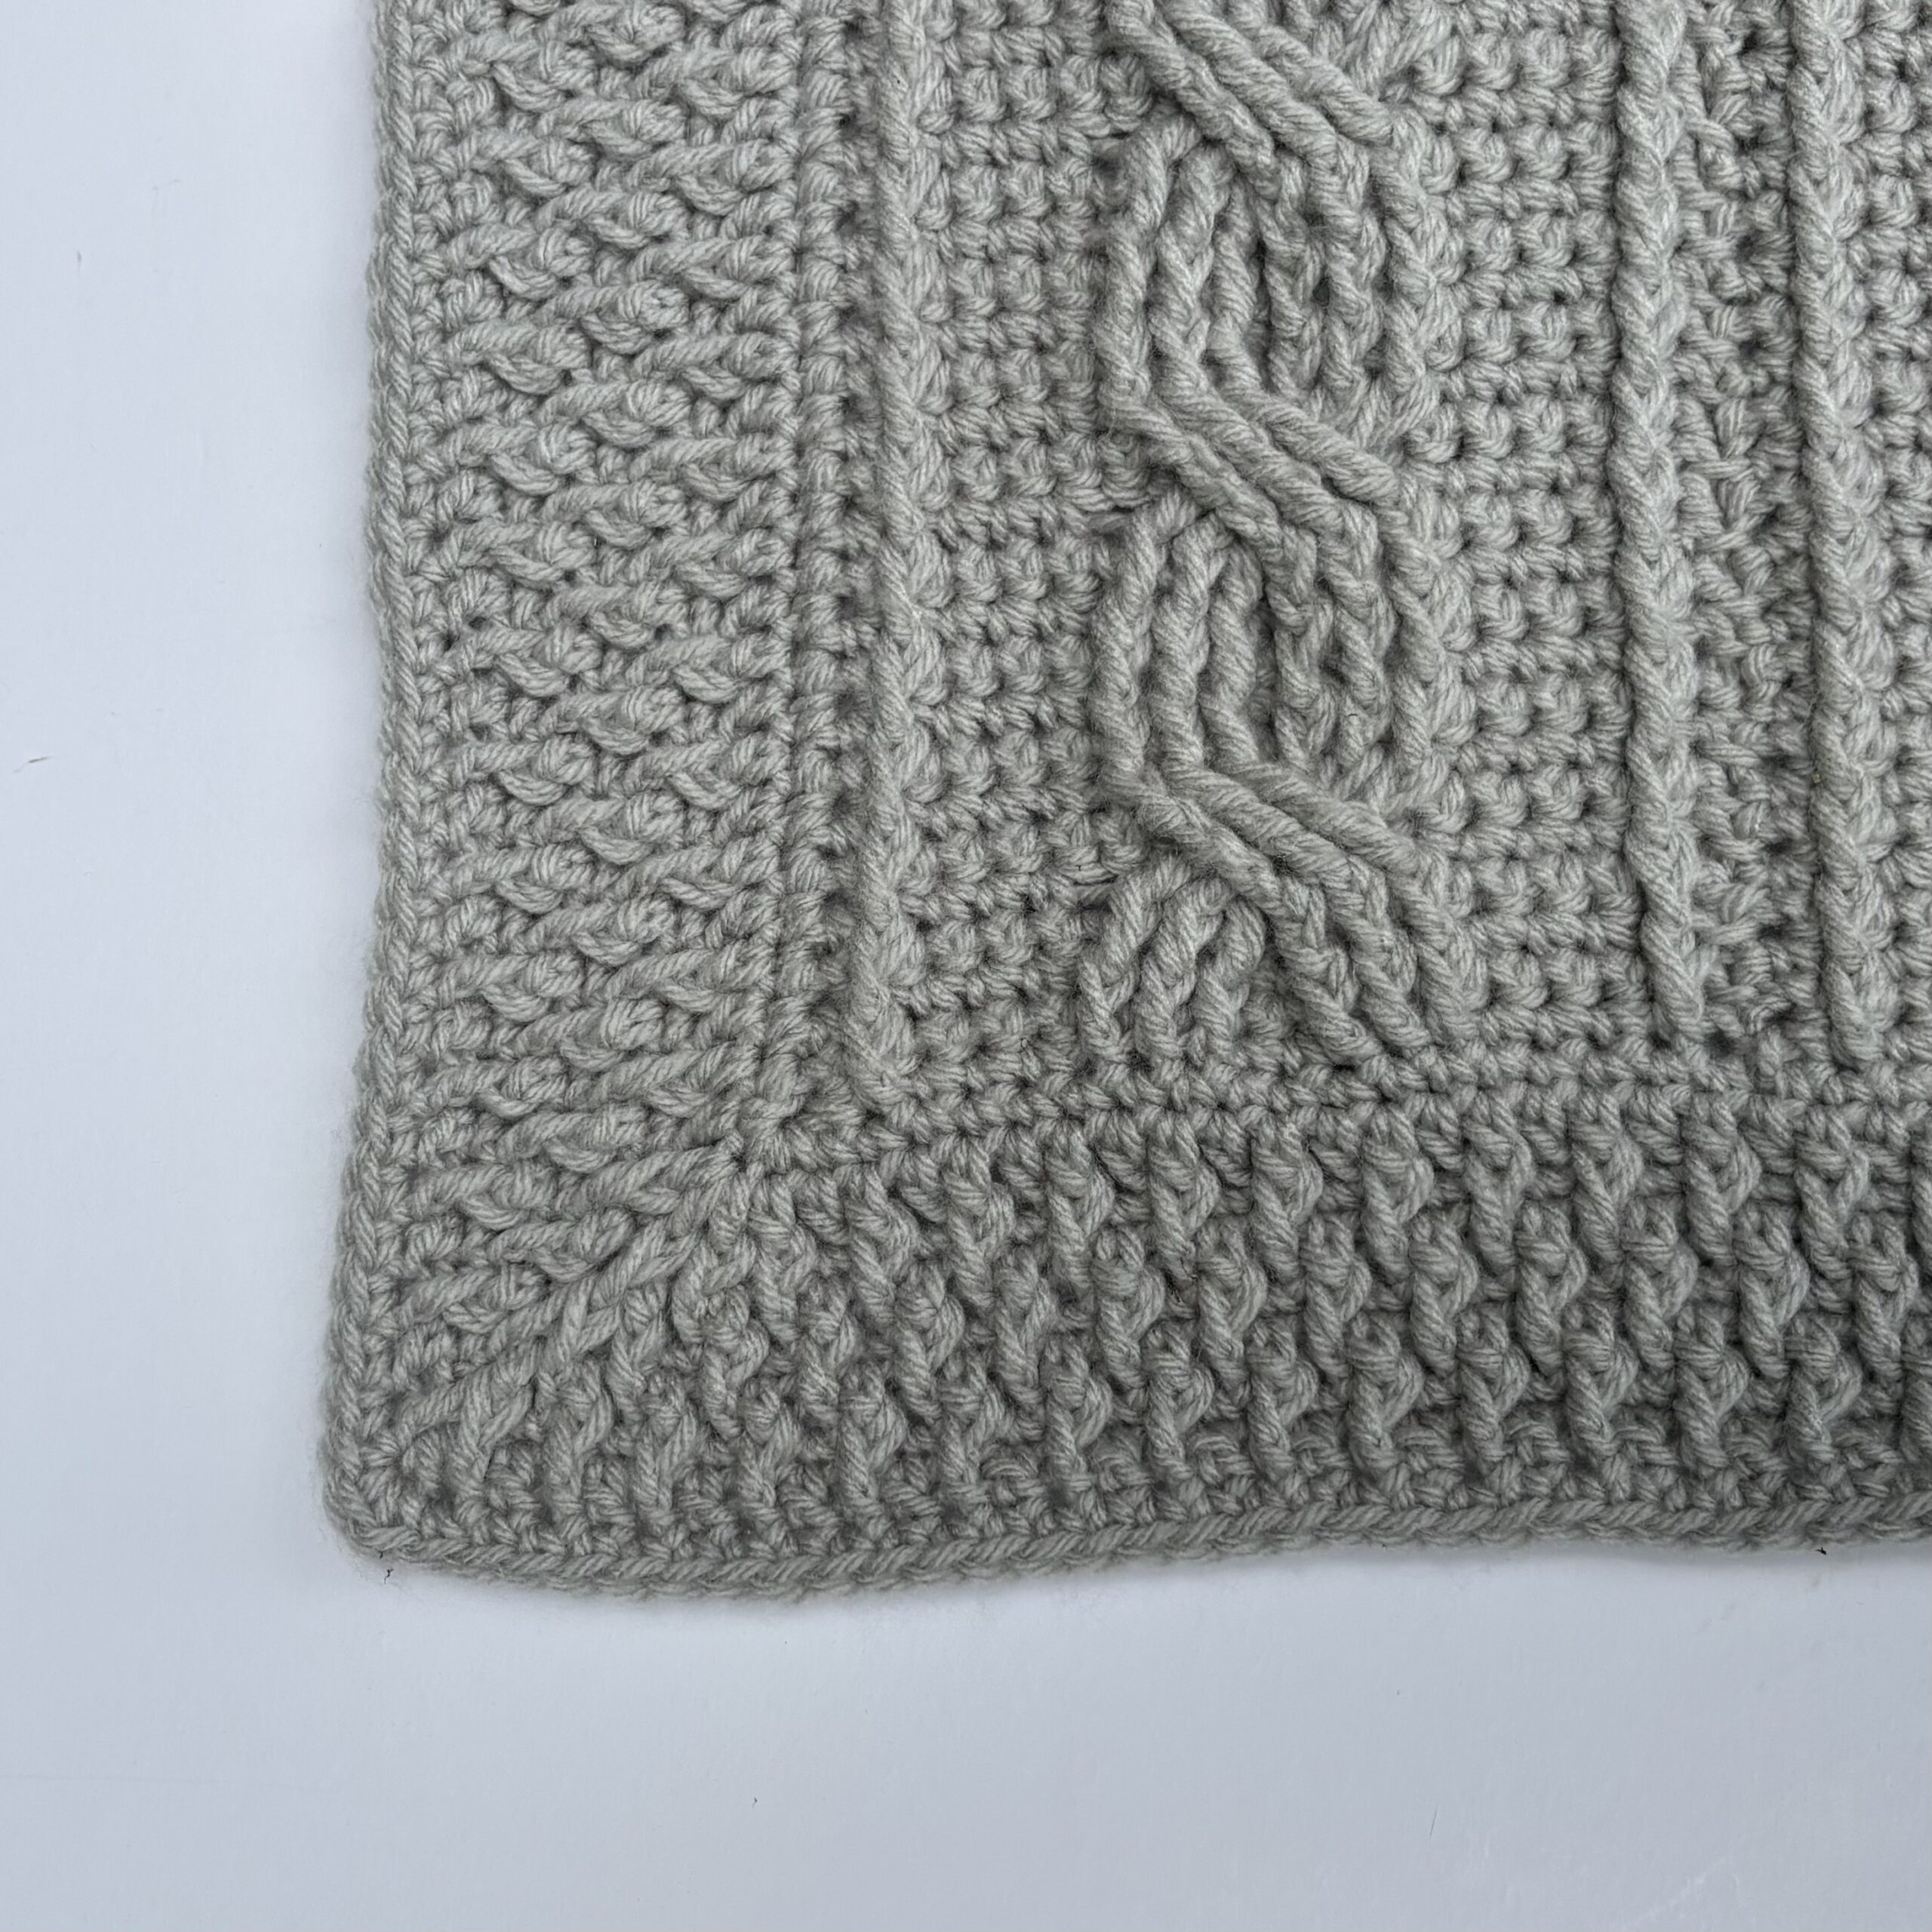
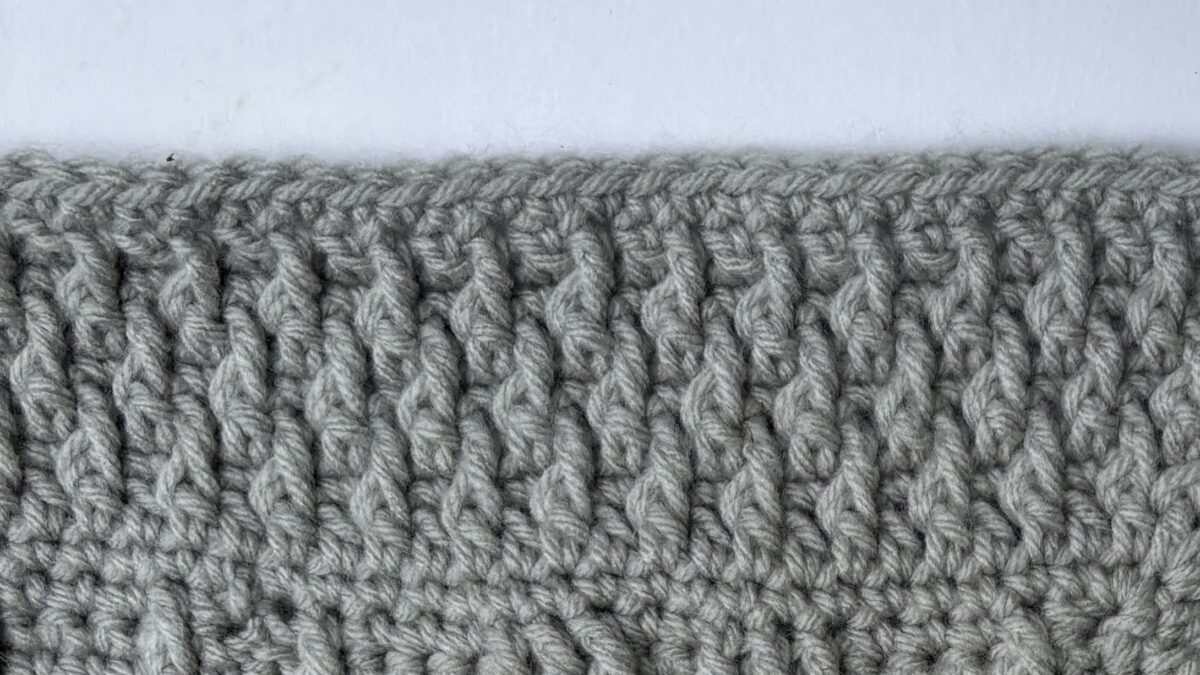
The alpine stitch makes a stunning border for any blanket, adding both texture and depth with its unique raised design. Its alternating front post and single crochet stitches create a subtle, woven look that beautifully frames your project. It finishes off your Adventure in Cables Blanket with more amazing texture, or you can add it to your own throw or baby blanket for just the right amount of detail to make your work stand out.
MATERIALS
Finished Sizes: 2″ each side for border
Yarn: #4 worsted weight
Sample used: Big Twist Value – Soft Grey – 5 oz/145g, 289 yds/264m
Crochet Hook: Size H/8 (5 mm)
Notions: Yarn Needle
Gauge: 3 repeats x 7 rows = 2” in pattern
Difficulty: Adv Beg/Intermediate – Uses post stitches that change from row to row, to create a visual texture.
Abbreviations:
- ch – chain
- dc – double crochet
- FPdc – Front Post double crochet
- sc – single crochet
- yo – yarn over
For a full list of abbreviations, please see my List of Abbreviations.
Notes:
- Do not join at end of each round. Use a stitch marker to mark first st of each round.
- Pattern is worked in multiples of 2.
- If changing colors: sl st at the end of each round, ch 1.
Special Stitches:
FPdc – yo, insert hook from front to back to front around post of indicated st, yo, pull up loop, [yo, pull through 2 loops] 2 times. Video tutorial here
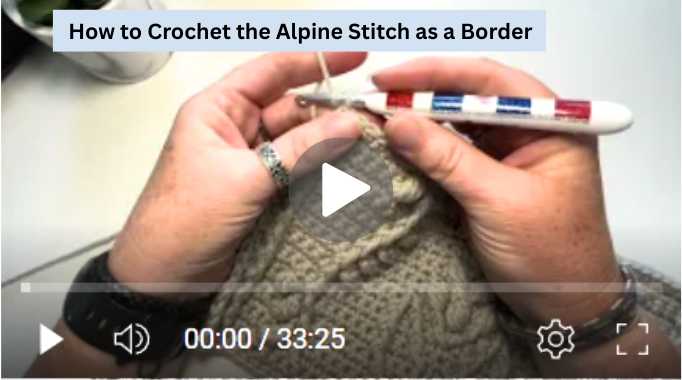
ALPINE STITCH BORDER TUTORIAL
Attach yarn in any st, ch 1.
Round 1: Sc in each st around, work 3 sc in each corner, sl st in first sc to join.
Round 2: Dc in each st around, working 3 dc in each corner st.
Round 3: Sc in each st around.
Round 4: Dc in 1st st, *[FPdc around next dc 2 rows below, dc in next st] across to 5 corner sc (3 corner dc 2 rows below), FPdc around first corner dc 2 rows below, dc in next sc, FPdc around 2nd corner dc 2 rows below, dc in next sc, FPdc around 3rd corner dc 2 rows below, dc in next sc*, repeat from * to * around.
Round 5: Sc in each st around.
Round 6: FPdc in dc 2 rows below, *[dc in next post st, FPdc around next dc 2 rows below, dc in next st] across to 5 corner sc (which will have the 3 corner dc 2 rows below), FPdc around first corner dc 2 rows below, dc in next sc, FPdc around 2nd corner dc 2 rows below, dc in next sc, FPdc around 3rd corner dc 2 rows below, dc in next sc*, repeat from * to * around.
Round 7: Sc in each st around.
Round 8: Dc in 1st st, *[FPdc around next dc 2 rows below, dc in next st] across to 5 corner sc (3 corner dc 2 rows below), FPdc around first corner dc 2 rows below, dc in next sc, FPdc around 2nd corner dc 2 rows below, dc in next sc, FPdc around 3rd corner dc 2 rows below, dc in next sc*, repeat from * to * around.
Round 9: Sc in each st around.
Don’t miss any tutorials or new pattern releases! Be sure to sign up for my weekly updates here!
PROJECTS IT’S GOOD FOR
You can add the alpine stitch as a border to almost anything, not just blankets.
It’s got gorgeous texture, and is great for beginners/advanced beginners, as well as all other skill levels.
You can even do more than one round and alternate colors to give it more color.
Check out the Adventure in Cables Blanket to see it in action.

Happy Crocheting!